Many buyers overlook that proper space planning for fixed frame screens involves more than just the screen size. You need to take into account clearance for ventilation, mounting hardware, and future adjustments. Failing to account for wall irregularities or tight corners can make installation difficult or lead to misalignment. Getting these details right is vital for a seamless, professional look. Keep going, and you’ll discover how to avoid these common mistakes and guarantee a perfect fit.
Key Takeaways
- Buyers often underestimate the extra clearance needed for proper mounting and adjustments beyond the screen’s dimensions.
- Failing to account for frame depth can lead to insufficient space, causing protrusion or difficulty fitting the screen flush.
- Overlooking wall surface irregularities may result in unstable installation and misalignment.
- Not planning for ventilation gaps can affect both the aesthetic and the longevity of the screen.
- Ignoring space requirements for future adjustments can complicate installation and maintenance.
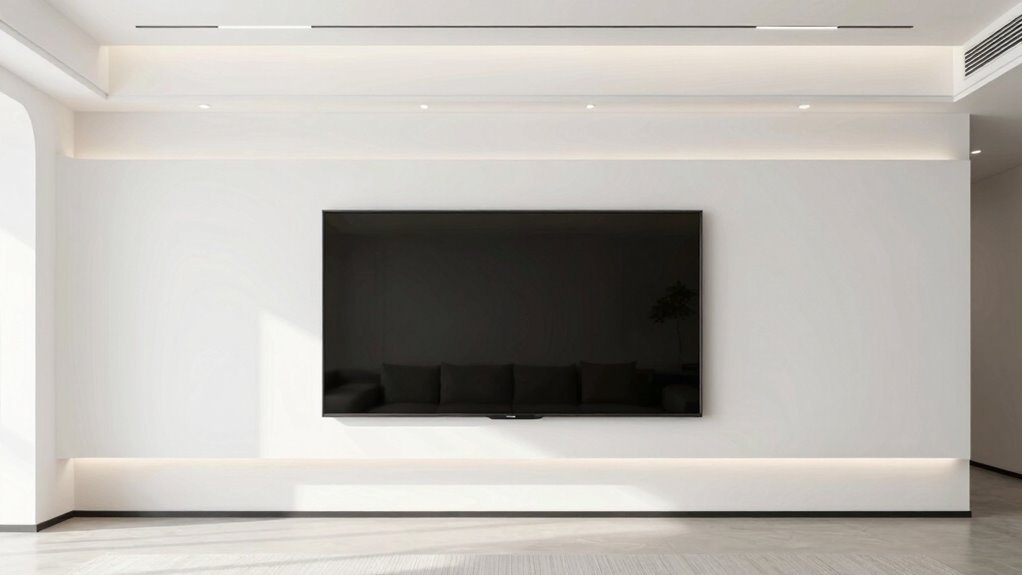
Are you wondering how much space you need to install a fixed frame screen? The answer isn’t always straightforward because many buyers overlook the significance of proper mounting options and screen alignment. When planning your setup, it’s essential to consider not just the size of the screen but also how it will be mounted securely and aligned perfectly on your wall. Failing to account for these factors can lead to frustration, a less-than-ideal viewing experience, or even damage to your equipment.
Proper mounting and alignment are key to a seamless, professional-looking fixed frame screen setup.
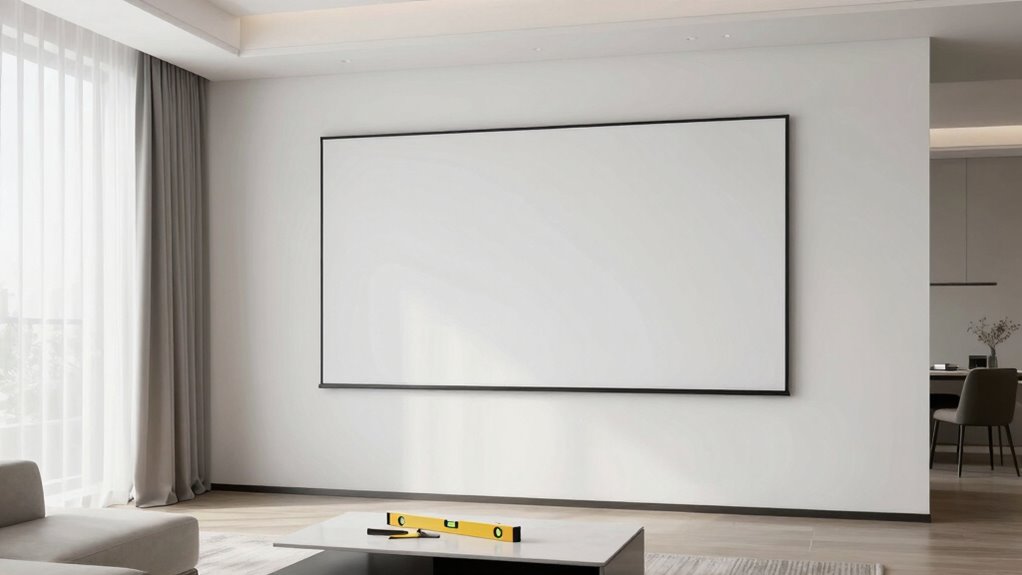
First, think about the available mounting options for your fixed frame screen. Some screens require a flush mount directly against the wall, while others may need a slight gap for ventilation or aesthetic reasons. You want a solution that guarantees stability without risking warping or misalignment over time. Wall studs, mounting brackets, and level mounting hardware are all part of the equation. If you don’t have the right mounting options, you might find yourself struggling to keep the screen perfectly centered or level, which diminishes the visual impact and can cause eye strain during use. Ensuring proper mounting hardware is crucial for a secure and stable installation. Taking the time to verify your wall’s structural support can prevent future issues with sagging or shifting. Additionally, understanding the weight capacity of your mounting setup is vital to prevent the screen from becoming loose or falling over. Properly assessing your wall’s load-bearing capacity ensures your setup remains secure over time.
Screen alignment is another key aspect often overlooked during the planning phase. Even a slight tilt or off-center positioning can compromise image quality and viewer comfort. You need to verify that your wall space allows for precise alignment, which often means measuring and marking mounting points carefully. Keep in mind that the space needed for proper screen alignment isn’t just about width and height; it also involves considering how much clearance you want around the screen for aesthetic reasons or future adjustments. If you cram your fixed frame into a tight corner or forget to leave enough room at the top and sides, you might find it impossible to achieve that perfect, seamless look. Additionally, understanding the installation space requirements is crucial to ensure your setup is both functional and visually appealing. Proper planning can save you time and effort during installation and prevent costly mistakes.
Additionally, consider the depth of the fixed frame itself. Some models sit flush against the wall, but others may protrude slightly, requiring extra space for a clean installation. Your wall’s surface and structure can affect how well the screen fits, so it’s wise to measure precisely and plan for any surface irregularities. This foresight prevents surprises during installation, saving you time and potential damage.
Ultimately, the key to a successful fixed frame screen installation is understanding that space isn’t just about the actual size of the screen but also about how it’s mounted and aligned. Taking the time to evaluate your mounting options and verifying proper screen alignment will lead to a cleaner, more professional look and a better viewing experience. Don’t rush this step—your perfect setup depends on it.

Ultra 16 9 Fixed Frame Projector Screen Matte White PVC Fabric Wrinkle Design Pre Installed Mounting Hardware
- Easy Hanging Design: Holes for simple mounting in any setting
- Lightweight and Portable: Effortless to set up and carry
- Durable Polyester Fabric: Long-lasting and resilient material
As an affiliate, we earn on qualifying purchases.
As an affiliate, we earn on qualifying purchases.
Frequently Asked Questions
How Much Clearance Is Needed Behind the Screen for Optimal Installation?
You should allow at least 2-4 inches of wall clearance behind the screen for ideal installation. This space ensures proper mounting height and prevents overheating or damage. When planning your setup, consider the mounting height that suits your viewing position and leave enough room for easy adjustments. Adequate wall clearance also helps with cable management, making your installation cleaner and more accessible for future maintenance.
Can the Installation Space Affect Screen Picture Quality?
The installation space can definitely affect your screen picture quality, like a fog clouding a clear view. If the space is too tight, screen glare can increase, causing unwanted reflections. Plus, inadequate viewing distance may lead to distorted images or eye strain. To get the best picture, guarantee ample space behind and around your screen, allowing light to disperse and maintaining ideal viewing distance for sharp, vibrant visuals.
What Are Common Mistakes When Measuring the Installation Area?
When measuring your installation area, you often overlook the importance of correct mounting height and wall compatibility. You might mount the screen too high or too low, which affects viewing comfort. Additionally, you may not check if your wall can support the weight or if it’s compatible with the mounting system. Always measure carefully, considering the ideal mounting height for comfortable viewing and make certain your wall can securely hold the screen.
How Does Wall Material Impact Fixed Frame Screen Mounting?
Wall material considerably influences how you mount your fixed frame screen. If your wall has low durability, like drywall, you risk mounting instability or damage. Surface texture also matters; rough or uneven surfaces make secure installation difficult and can cause the frame to wobble or fall. Choose sturdy, smooth walls or reinforce the mounting area to guarantee a secure, long-lasting setup for your screen.
Is There a Recommended Minimum Space for Future Adjustments?
You should leave at least 3-4 inches of space behind the screen for future adjustments, especially around mounting brackets. This gap allows you to tighten or realign the screen easily without hassle. Also, keep enough room for cable management, so wires don’t get pinched or tangled during adjustments. Proper spacing guarantees smooth maintenance and a neat setup, preventing frustration down the line.
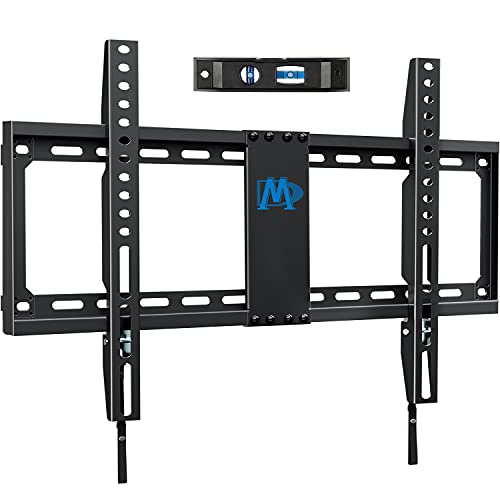
Mounting Dream TV Mount Fixed for Most 42-84 Inch Flat Screen TV UL Listed
- Universal Compatibility: Fits most 42-84 inch TVs up to 132 lbs
- VESA and Stud Compatibility: Supports VESA up to 600x400mm and various stud types
- Low Profile Design: Ultra slim, only 1.1 inches from wall
As an affiliate, we earn on qualifying purchases.
As an affiliate, we earn on qualifying purchases.
Conclusion
Remember, choosing the right installation space for your fixed frame screen is vital for ideal viewing. Did you know that nearly 60% of home theater setups suffer from poor placement, leading to distorted images or uncomfortable viewing angles? By carefully measuring your space and considering factors like seating distance and lighting, you’ll guarantee a stunning picture and immersive experience. Don’t overlook this step—you’ll thank yourself when your home theater feels just right!

XINLEI Universal Projector Screen Wall Mount L-Brackets Hanging Ceiling Mount, 6 inch Adjustable Extension with Hook for Home Projector and Movie Screens, Hold up to 66 lbs, White PRL003W
- Universal Compatibility: Fits most projector screens and surfaces
- Secure Hanging: Includes carabiner for up to 66 lbs
- Adjustable Extension: Hangs 1.5 to 5 inches from wall
As an affiliate, we earn on qualifying purchases.
As an affiliate, we earn on qualifying purchases.

Screen Roller Tool Set, 2 Pack Screen Spline Roller with Spline Removal Hook for Window & Door
- Versatile Screen Repair Tools: Includes dual-head roller and spline removal hook
- Smooth Installation with Precision: Thickened nylon wheels with steel bearings
- Even Pressure for Secure Fit: Convex and concave rollers ensure consistent pressure
As an affiliate, we earn on qualifying purchases.
As an affiliate, we earn on qualifying purchases.