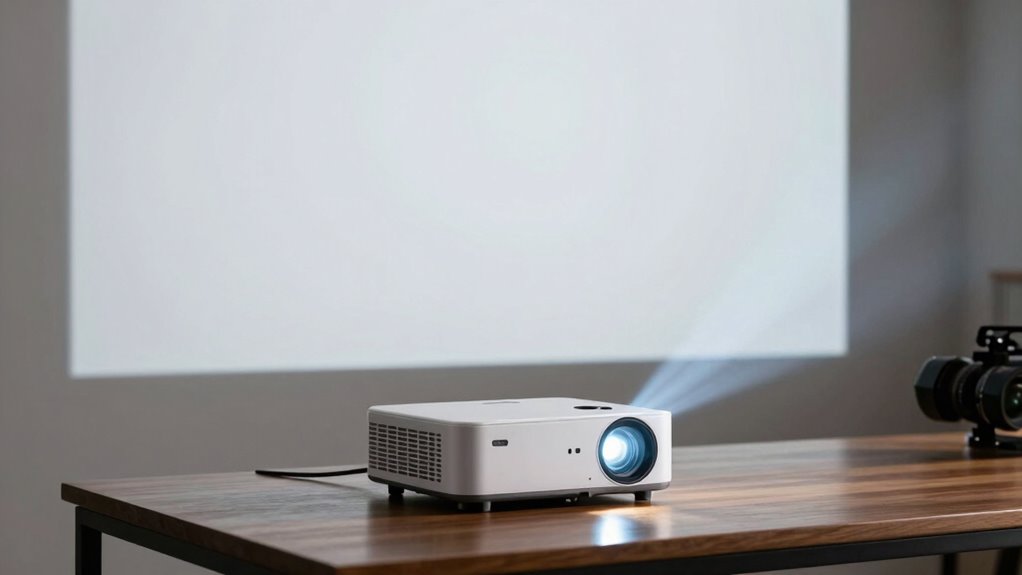
To get the perfect image size with your projector, you need to understand the throw distance, which is how far the projector must be from the screen. This distance depends on your room size, screen size, and the projector’s throw ratio. Larger screens need more space, while short-throw models work closer. By knowing these rules, you’ll avoid blurry or distorted images and create a sharp, vibrant display. Keep exploring to discover more about setting up your projector correctly.
Key Takeaways
- The throw distance directly relates to screen size; larger screens require greater distance for clear, sharp images.
- Knowing your projector’s throw ratio helps determine the ideal placement for desired screen dimensions.
- Short-throw projectors can produce large images from close distances, ideal for small rooms.
- Proper positioning prevents blurriness, pixelation, and distortion, ensuring optimal image quality.
- Accurate room measurements and understanding of throw ratio simplify setup and improve projection results.

Short Throw Projector 4K Compatible with Netflix,1200ANSI Ceiling Projector Portable for Bedroom/Outdoor Auto focus 6D Keystone Dolby Smart Home Projector with WiFi and Bluetooth 200''
【1.1:1 Short Throw Ratio – Big Screen in Small Spaces】 Get a massive 100-inch image from just 2.44m…
As an affiliate, we earn on qualifying purchases.
As an affiliate, we earn on qualifying purchases.
What Is Projector Throw Distance and Why It Matters
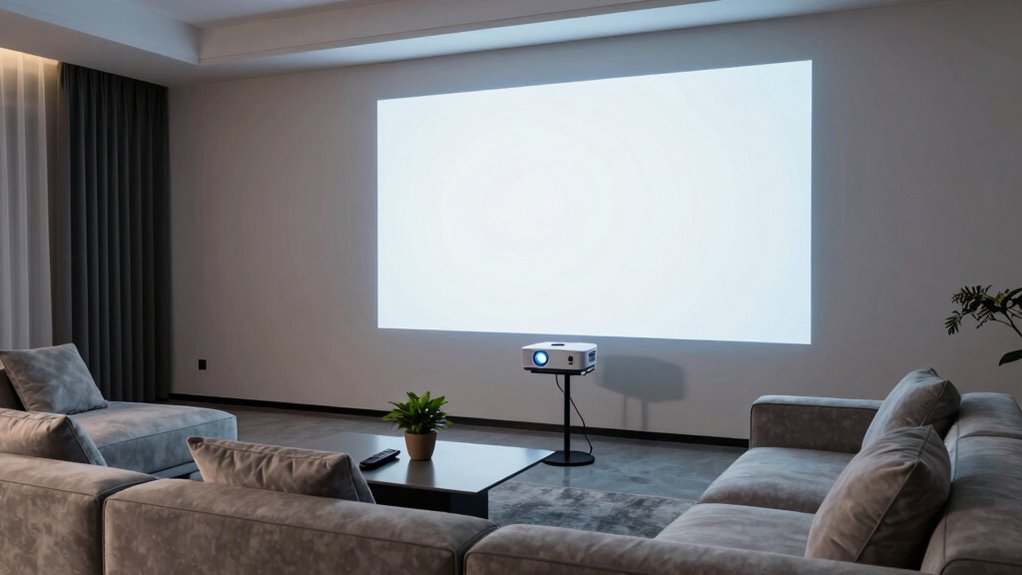
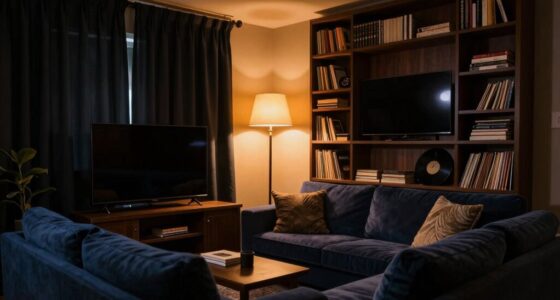
Have you ever wondered how far your projector needs to be from the screen to produce a clear, properly-sized image? That’s where projection distances come into play. Your projector’s throw distance—the gap between the device and the screen—directly affects image size and clarity. Knowing this distance helps you plan your setup adjustments to achieve the best picture quality. If your projector is too close, the image might be blurry or distorted; too far, and it might be too small or dim. By understanding the relationship between projection distances and your room’s layout, you can make smarter setup adjustments. This knowledge is essential for creating a trendy lifestyle that seamlessly integrates technology and style. This ensures you get a sharp, correctly-sized image without wasting time fiddling with focus or position.

Mdbebbron 120 inch Projector Screen 16:9 Foldable Anti-Crease Portable Projector Movies Screens for Home Theater Outdoor Indoor Support Double Sided Projection
CONVENIENT TO STORAGE AND CARRY : Compact one-piece,lightweight and folding design. You can fold the projector screen in…
As an affiliate, we earn on qualifying purchases.
As an affiliate, we earn on qualifying purchases.
How to Measure Your Room and Find the Right Throw Distance
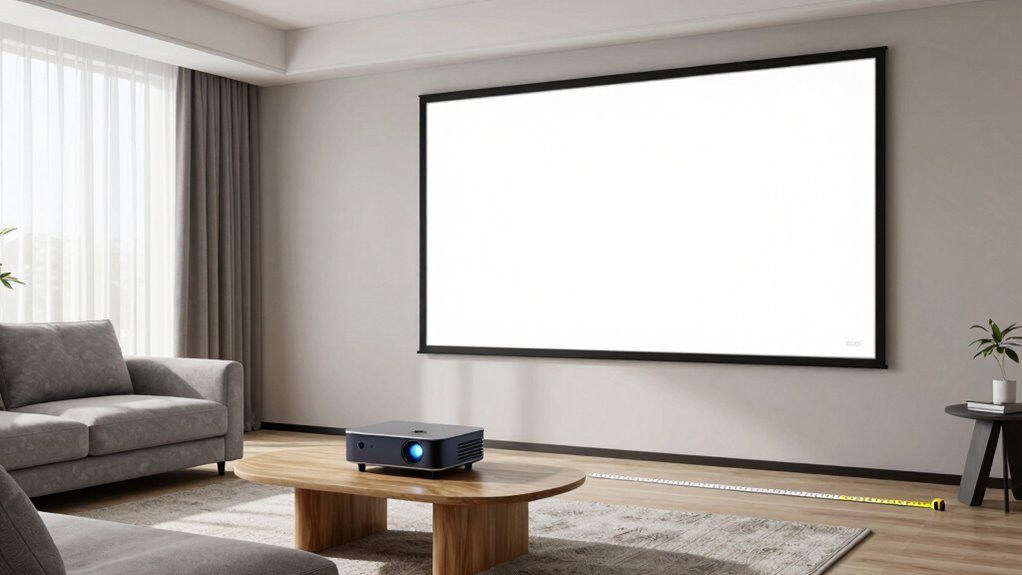
Start by measuring your room’s length and width to get accurate dimensions. Then, use those measurements to calculate the ideal projection distance for your projector. This will guarantee a clear, properly sized image without guesswork.
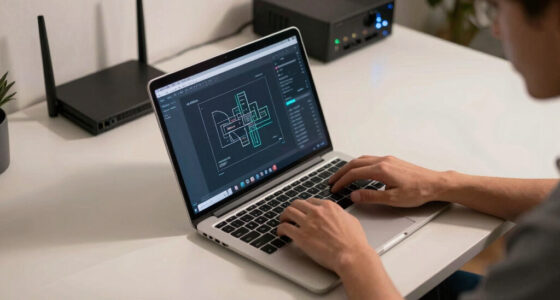
Measure Room Dimensions Accurately
To determine the ideal throw distance for your projector, you first need to accurately measure your room’s dimensions. Start by measuring the length, width, and ceiling height, as these will impact projection size and placement. Pay close attention to lighting conditions, as natural light can influence where you place the projector and how large the image appears. Use a tape measure for precision, and note any obstructions or irregularities that might affect setup. Knowing your ceiling height helps determine if you need a short-throw or standard projector. Confirm measurements are exact to avoid surprises during installation. Taking these measurements carefully will give you a solid foundation to find the right throw distance, ensuring your setup is both functional and visually excellent.
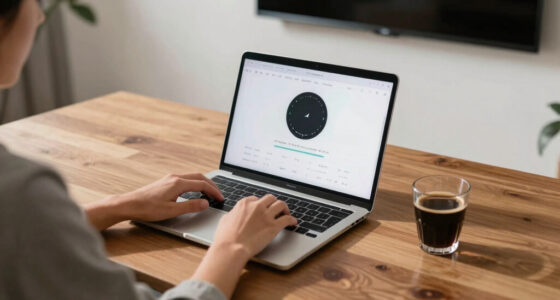
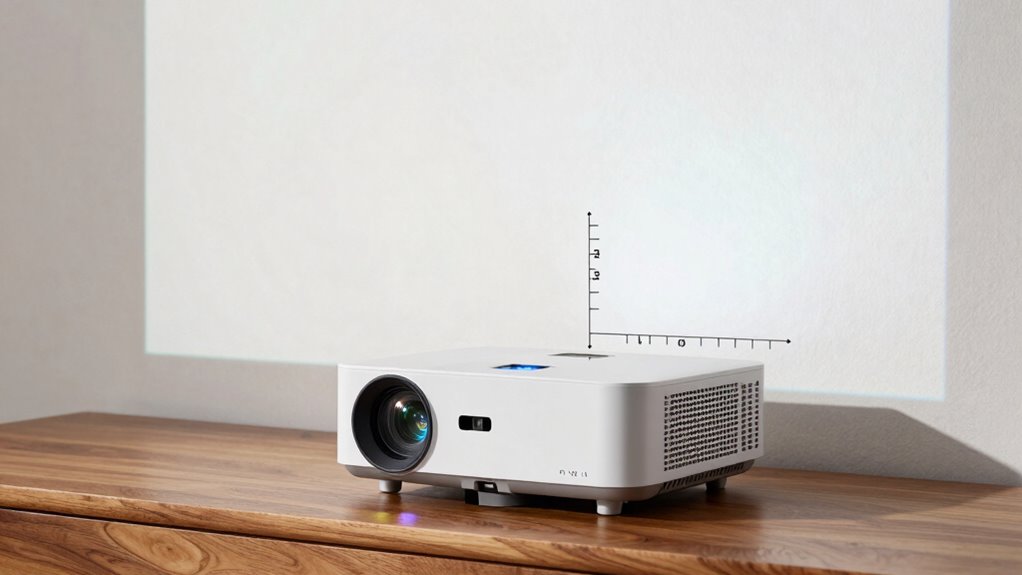
Calculate Optimal Projection Distance
Calculating the most suitable projection distance begins with measuring your room accurately. To do this, consider your projector’s recommended projection angle, which impacts image size and clarity. Measure the distance from the projector to the screen, guaranteeing it aligns with the manufacturer’s specifications for your desired image size. Keep in mind ambient lighting, as brighter rooms may require a projector placed closer or with higher lumens for clear visibility. Adjust the projection distance to balance ideal image size with brightness and clarity, considering your room’s layout. Use a tape measure or laser distance tool to get precise measurements. Remember, a proper projection distance ensures sharp images and avoids distortion caused by incorrect placement, making your viewing experience more enjoyable. Additionally, understanding the image quality factors can help optimize your setup for the best viewing experience.
Short Throw Projector 4K Compatible with Netflix,1200ANSI Ceiling Projector Portable for Bedroom/Outdoor Auto focus 6D Keystone Dolby Smart Home Projector with WiFi and Bluetooth 200''
【1.1:1 Short Throw Ratio – Big Screen in Small Spaces】 Get a massive 100-inch image from just 2.44m…
As an affiliate, we earn on qualifying purchases.
As an affiliate, we earn on qualifying purchases.
How Screen Size Influences Projector Placement

Your chosen screen size directly impacts where you should place your projector, especially considering the throw ratio. Larger screens typically need more distance for a sharp, clear image, so placement becomes essential for maximum clarity. Keep in mind the recommended distance to guarantee the image is crisp without distortion or blurriness.
Screen Size and Throw Ratio
The size of your screen directly impacts where you should position your projector, thanks to the throw ratio. A larger screen requires a shorter or longer throw distance depending on the projector’s throw ratio, which relates the distance to the width of the image. When selecting a projector, consider your preferred projection angles to guarantee a comfortable viewing experience without distortion. Lens types play a role too; some lenses offer zoom capabilities, allowing more flexibility in placement regardless of screen size. For instance, a short-throw lens can produce a large image from a close distance, ideal for small rooms. Conversely, a standard lens may need more space, especially for bigger screens. Understanding how screen size influences throw ratio helps you optimize placement for both clarity and convenience.
Distance for Image Clarity
When positioning your projector, understanding how screen size influences image clarity is essential. Larger screens require the projector to be placed farther away to maintain sharpness, affecting color calibration and overall picture quality. If you’re too close, the image may appear pixelated or blurry, compromising color accuracy. Proper distance ensures optimal color calibration and smooth audio synchronization, preventing distortions. Here’s a quick overview:
| Screen Size | Ideal Distance |
|---|---|
| 100 inches | 10-12 feet |
| 120 inches | 12-14 feet |
| 150 inches | 15-17 feet |
| 180 inches | 18-20 feet |
Adjusting the distance based on screen size keeps the image clear and vibrant, ensuring your viewing experience is sharp and synchronized. Considering throw ratio is also important for precise projector placement.
Optimal Placement Tips
Choosing the right placement for your projector depends largely on your screen size. To achieve the best image quality, consider your projector’s throw distance and how it affects color calibration. Larger screens generally require the projector to be farther away, so you can explore different mounting options, like ceiling mounts or wall brackets, to position it perfectly. Correct placement ensures even illumination and reduces distortion. Keep in mind that precise alignment helps maintain accurate color calibration, making your visuals vibrant and true to life. If your screen is small, you can place the projector closer, but for bigger screens, confirm you’re maintaining the recommended throw distance. Proper placement is key to a clear, well-calibrated image, no matter your screen size.

Tonalee Projector Mount Wall or Ceiling Projection Mount Bracket with Adjustable Height and Extendable Arms Mounts for Home and Office Projector
【Note】The projector mount used in this projector mount should have the following conditions: 1. The wall where the…
As an affiliate, we earn on qualifying purchases.
As an affiliate, we earn on qualifying purchases.
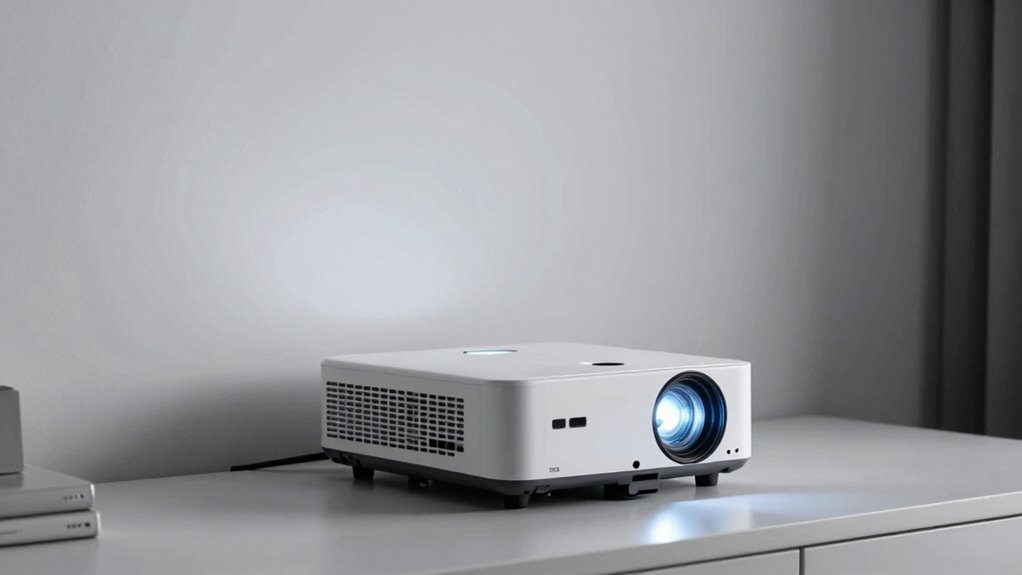
Different Types of Projectors and How Throw Distance Varies
Different types of projectors are designed to suit various spaces and purposes, which directly influences their throw distances. For example, standard projectors often need larger spaces, resulting in longer throw distances that can impact projection quality if not positioned correctly. Short-throw and ultra-short-throw projectors are designed for smaller areas, allowing you to place them closer to the screen without sacrificing image clarity. These projectors tend to have better projection quality at close range and often feature longer lamp lifespans, reducing maintenance. Conversely, long-throw projectors require more space but can deliver high projection quality over greater distances. Understanding how each type varies helps you choose the right projector for your space, ensuring ideal image size and performance. Additionally, projector placement is crucial for achieving optimal image quality and avoiding common issues like distortion or shadows. Proper setup techniques can further enhance your viewing experience and extend the lifespan of your projector. Being aware of the different projector types can also help you plan your room layout more effectively to optimize viewing angles and minimize potential glare or obstructions. Recognizing the appropriate throw distance for each projector type helps prevent image distortion and ensures the best possible display quality.
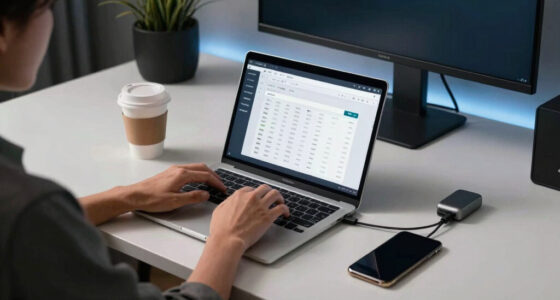
Tips for Setting Up Your Projector for the Best Image Size
To achieve the best image size with your projector, start by positioning it at the most suitable distance from the screen. Regular projector maintenance, like cleaning the lens and checking connections, guarantees ideal image quality. Use advanced projection techniques, such as adjusting keystone correction and focus, to refine the picture. Make sure your projector is on a stable surface to prevent shifts that could alter the image size. Consider ambient lighting—dimming lights or closing curtains enhances clarity. For larger images, double-check the projector’s throw ratio and recalibrate if necessary. Proper setup reduces the need for constant adjustments and ensures a sharp, well-sized picture. Following these tips makes your setup more effective, creating an ideal viewing experience without trial and error.
Troubleshooting Throw Distance Problems and Fixes

Even with careful setup, throw distance problems can still crop up, affecting your projected image size and quality. If your image appears too small or too large, check your ceiling mounting to verify the projector is positioned at the correct distance. Incorrect mounting angles can distort throw distance and image clarity. If colors look off, perform color calibration to correct color accuracy, which can also highlight if the image isn’t properly aligned. Adjust the projector’s position or lens shift features to fix size issues, and re-calibrate colors afterward. Confirming your projector is securely ceiling-mounted and properly aligned helps maintain consistent throw distance. Regularly reviewing these settings can prevent future problems and improve overall image quality. Utilizing smart home technology can also assist in automating and optimizing projector adjustments for better consistency, especially when integrated with automatic calibration systems. Additionally, monitoring your system through home automation devices can provide real-time feedback and troubleshooting assistance to maintain optimal throw distance. Incorporating device connectivity features can further streamline adjustments and ensure your setup remains precise over time. To enhance reliability, consider setting up remote control options that allow quick adjustments without physical access to the projector.
Frequently Asked Questions
Can a Projector Be Moved Closer or Farther Without Affecting Image Quality?
Yes, you can move your projector closer or farther without harming image quality, but you need to adjust screen calibration and mounting height accordingly. Moving it closer or farther affects the throw distance, so recalibrate your screen for maximum clarity. Changing the mounting height helps maintain the correct image alignment. These adjustments ensure the image stays sharp and properly proportioned, regardless of the projector’s position.
How Does Ambient Light Impact Optimal Throw Distance?
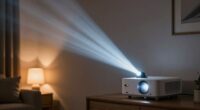
Ambient lighting can crucially influence your ideal throw distance because light interference diminishes image contrast and clarity. In brighter rooms, you might need to move the projector closer to maintain a visible, sharp picture. Conversely, in darker environments, you can set the projector farther away without sacrificing quality. Adjusting throw distance based on ambient lighting guarantees your image stays clear and vibrant, regardless of lighting conditions.
Are Short-Throw or Ultra-Short-Throw Projectors Better for Small Rooms?
Short-throw and ultra-short-throw projectors are ideal for small rooms because they allow flexible projection placement and accommodate smaller screen sizes. You can place the projector close to the wall, reducing clutter and avoiding shadows. This setup maximizes space, making your viewing experience more comfortable. For limited room space, these projectors are better options, ensuring clear images without sacrificing valuable room area.
What Are Common Mistakes When Measuring Throw Distance?
When measuring throw distance, you often make calibration issues or mounting errors. You might miscalculate the distance due to incorrect calibration settings or forget to adjust for lens zoom. Mounting errors, like placing the projector unevenly or too close, can distort image size. Always double-check your measurements, confirm the projector is level, and verify calibration settings to avoid these common mistakes and achieve the perfect image size.
Does Projector Lens Shift Affect Throw Distance Requirements?
Lens shift can affect throw distance requirements because it allows you to adjust the lens position without moving the projector itself, helping with lens alignment. However, significant lens shift might cause some image distortion if not used properly, so you need to take into account it when calculating how far your projector should be from the screen. Proper adjustment ensures that your image stays clear and correctly aligned without needing extra throw distance.
Conclusion
Think of your projector as a skilled archer and the throw distance as the arrow’s flight path. Just as precision guarantees your arrow hits the target, understanding and adjusting your throw distance guides your image to land perfectly on your screen. When you master this art, your setup becomes a graceful dance, transforming any space into a cinematic haven. Embrace the balance, and you’ll always aim for clarity, sharpness, and a truly immersive viewing experience.