To set up your projector room, you need a space with minimal natural light and neutral-colored walls to enhance image clarity. Properly position your projector at the right height and distance for a clear picture, and choose a screen size that fits your room. Manage lighting with blackout curtains to prevent washout, and pay attention to sound for clear audio. For more tips on perfecting your setup, there’s much more to explore.
Key Takeaways
- Proper room selection with minimal natural light and dark walls enhances image clarity and contrast.
- Correct projector brightness depends on room lighting and screen size, balancing vibrancy and detail.
- Optimal speaker placement and soundproofing improve audio clarity and reduce external noise interference.
- Precise projector alignment and regular maintenance prevent image distortion and ensure long-term performance.
- Matching screen size and viewing distance prevents distortion and improves viewing comfort and image quality.
Yakamok 100% Blackout Curtains 84 Inches Long, 2 Thick Layers Heat and Full Light Blocking Soft Thermal Insulated Drapes for Bedroom(52" Wide Each Panel, Grey, 2 Panels)
PACKAGE MADE:2 panels per package. Each Lined Curtain measures 52" wide x 84" long. 8 Silvery Grommets per…
As an affiliate, we earn on qualifying purchases.
As an affiliate, we earn on qualifying purchases.
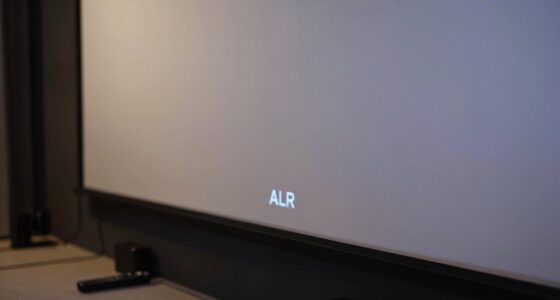
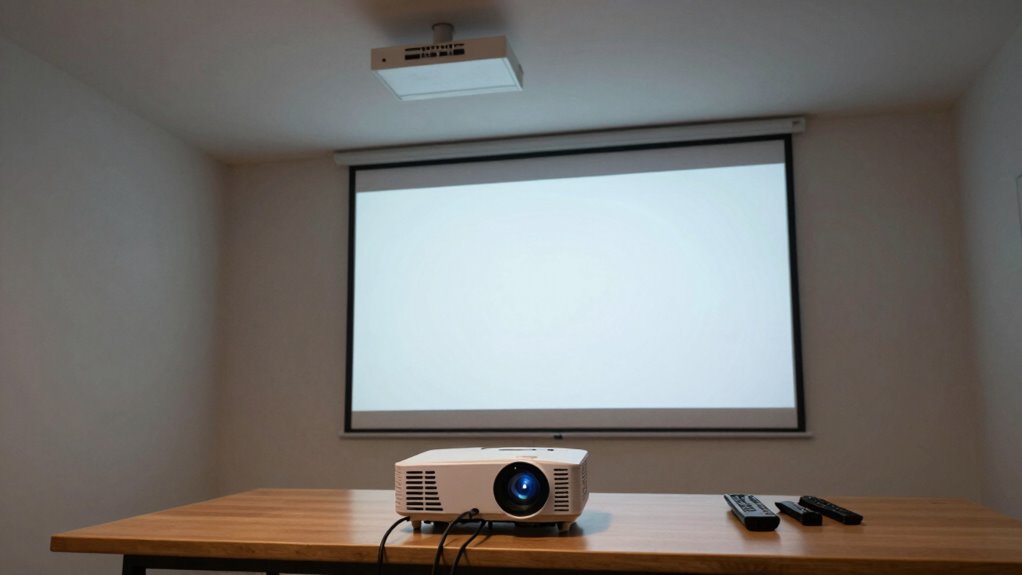
How to Pick the Best Room for Your Projector
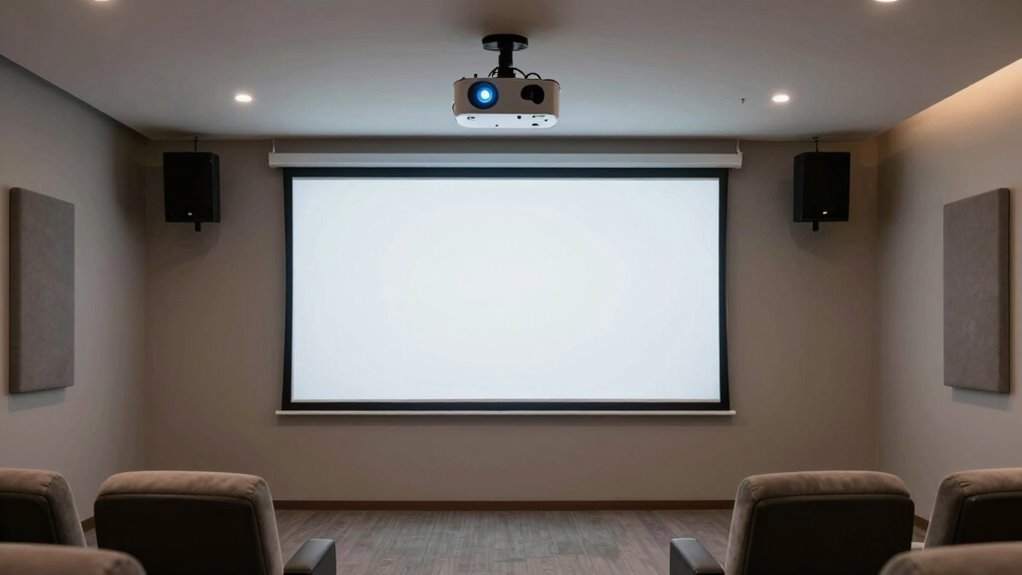
Choosing the right room for your projector is essential to get the best image quality and viewing experience. Look for a space with minimal natural light, so you won’t have to fight glare or washout. Darker rooms with neutral-colored walls help improve image clarity. Consider how room decoration influences the setup—cluttered spaces can distract from the viewing experience and complicate projector mounting. Opt for a location with enough wall space to accommodate your screen or projection surface, and guarantee the ceiling or wall allows for secure projector mounting. A dedicated room or a space that’s easy to control lighting and decoration will make your setup more effective. Proper planning assures your projector performs at its best, providing a crisp, clear image every time. Additionally, choosing a space that promotes sustainable living practices can help reduce energy consumption and environmental impact. Incorporating energy-efficient features can further support your environmentally conscious setup and enhance overall performance. Selecting an environment that supports energy efficiency can further enhance your projectors’ overall performance and longevity. Incorporating energy-saving lighting options can also contribute to a more environmentally friendly setup, especially when combined with smart lighting controls to optimize energy use.

120inch Projector Screen with Stand: Portable Projector Screen Outdoor Indoor Front/Rear16:9 4K HD with Carry Bag Sandbag- Movie Screen for Backyard Moive Night, Camping, Theater
Unshakably Stable Base and Support: This projection screen features a sturdy base and support—extended and reinforced—effectively addressing instability…
As an affiliate, we earn on qualifying purchases.
As an affiliate, we earn on qualifying purchases.
What Brightness Do You Need for a Clear Image?
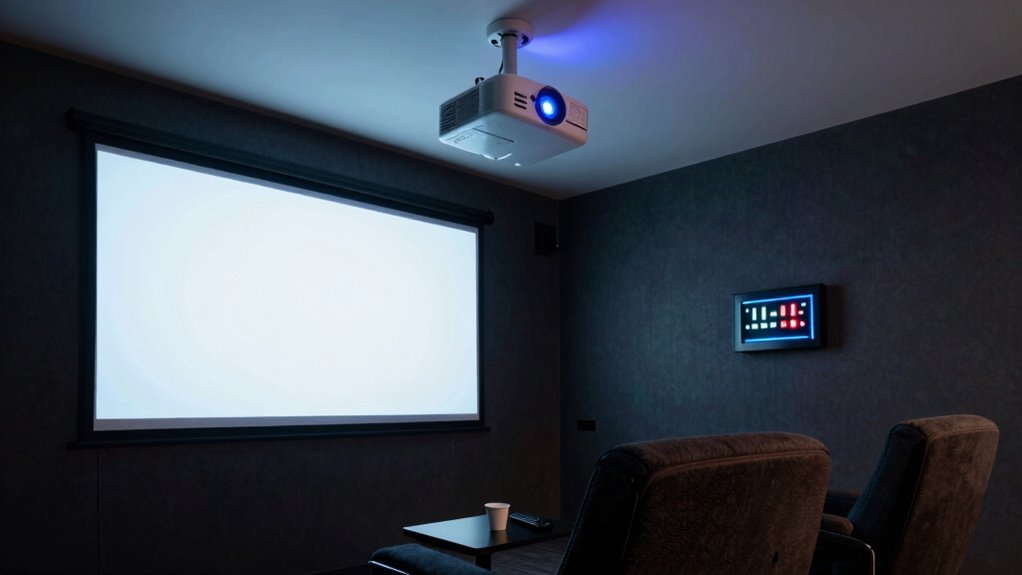
The brightness you need depends on your room’s lighting conditions and screen size. If your room has lots of ambient light, you’ll want a projector with higher lumens to keep the image clear. Larger screens also require more brightness to maintain image quality across the entire surface. Additionally, understanding lighting regulations can help you choose a projector that performs well in various environments. Considering ambient light levels can further optimize your viewing experience and prevent washed-out images. Recognizing visual comfort standards can ensure your setup is both effective and comfortable for extended viewing sessions. Recognizing lighting conditions can also guide you in selecting the most suitable projector brightness for your specific space. Being aware of these factors can significantly enhance your overall projector setup and ensure clearer images in any setting.
Room Lighting Impact
Have you ever noticed how a bright room can make a projected image hard to see? That’s because ambient lighting affects contrast and clarity. To ensure a clear image, control the room’s light levels, especially in darker environments. Pay attention to ambient lighting, as too much can wash out the projection. Adjusting color temperature helps optimize visibility; warmer tones reduce glare, while cooler tones can enhance brightness. Keep these points in mind:
- Minimize ambient lighting during presentations
- Use dimmable lights or blackout curtains
- Maintain consistent color temperature for reduced eye strain
- Avoid direct light hitting the screen for better contrast
Balancing brightness and ambient light is key to a sharp, vivid image, ensuring your projector performs at its best.
Screen Size Considerations
Ever wonder how much brightness you need to make a large screen image clear and vibrant? Brightness requirements depend heavily on your screen size, resolution, and projection angle. A higher screen resolution demands more brightness to maintain sharpness and detail, especially in larger screens. The projection angle also influences brightness; a steep angle can cause light loss, making the image dimmer. For bigger screens, aim for at least 2,500 lumens in darker rooms, while well-lit spaces may require 3,500 lumens or more. Keep in mind, a larger projection surface disperses light, so increasing brightness ensures clarity and color accuracy. Balancing screen size with appropriate brightness prevents images from appearing washed out or blurry, delivering a crisp, vibrant picture for your viewing experience.

ULTIMEA 5.1CH Surround Sound Bar with Subwoofer, Dolby Atmos, VoiceMX, BassMX, APP, 300W Soundbar for Smart TV, Home Theater Surround Sound System for TV, Bluetooth 5.4, Poseidon M60 (2026 Model)
Simplified 5.1ch Dolby Atmos Setup: Enjoy immersive 4D sound with real Dolby Atmos and 5.1-channel audio. Five built-in…
As an affiliate, we earn on qualifying purchases.
As an affiliate, we earn on qualifying purchases.
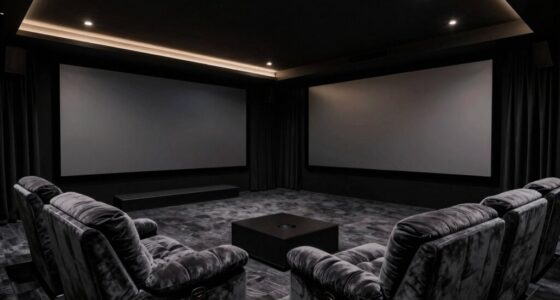
How to Choose the Right Screen Size and Viewing Distance

Choosing the right screen size and viewing distance is essential for getting the best picture quality and comfort during your movie or presentation. To do this, consider your projector’s throw distance—closer for smaller screens, farther for larger ones—and guarantee your space fits your desired screen size. Keep in mind the screen aspect ratio, which affects how images fill the screen and your viewing experience.
- Match the projector’s throw distance to your room dimensions
- Select a screen size that fits comfortably within your space
- Maintain ideal viewing distance for clear, detailed images
- Ensure the aspect ratio complements your content and prevents distortion
Balancing these factors helps you achieve sharp visuals and comfortable viewing without straining your eyes or sacrificing image quality.

Amazon Basics Smart A19 LED Light Bulb, Color Changing, 9W (60W Equivalent), 800LM, Works with Alexa Only, WiFi 2.4 GHz, No Hub Required, Mood Lighting, Energy Efficient, 1-Pack
SMART UPGRADE FOR CONVENIENCE AND ENERGY EFFICIENCY : Control your Amazon Basics smart light bulbs using your voice…
As an affiliate, we earn on qualifying purchases.
As an affiliate, we earn on qualifying purchases.
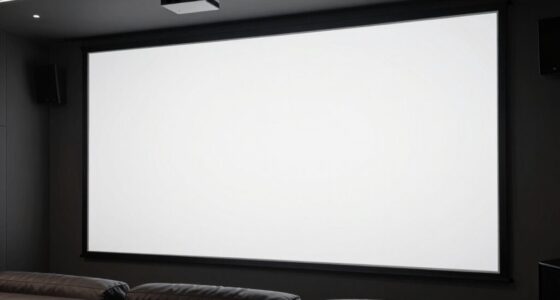
Tips for Managing Room Lighting for the Best View
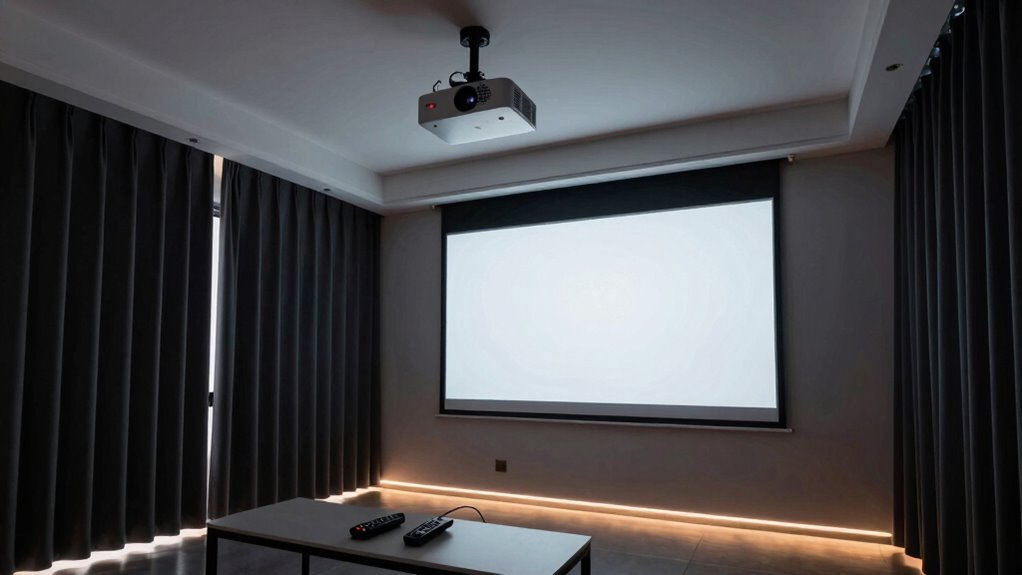
Managing room lighting effectively is essential for achieving the best viewing experience with your projector. To reduce glare and improve contrast, control ambient lighting by using window treatments like blackout curtains or heavy blinds. These help block out sunlight and prevent unwanted reflections on the screen. During movie or presentation time, keep ambient lighting dim or off altogether to maximize image clarity. If you need some light, opt for indirect sources that don’t shine directly onto the screen. Adjusting window treatments and keeping the room dark creates a more immersive experience and enhances color vibrancy. Remember, controlling ambient lighting is key to avoiding washed-out images and ensuring you get the clearest, most vivid picture possible. Proper lighting control can significantly impact your overall viewing quality.
Sound Setup Tips for Clear Audio During Movies and Presentations
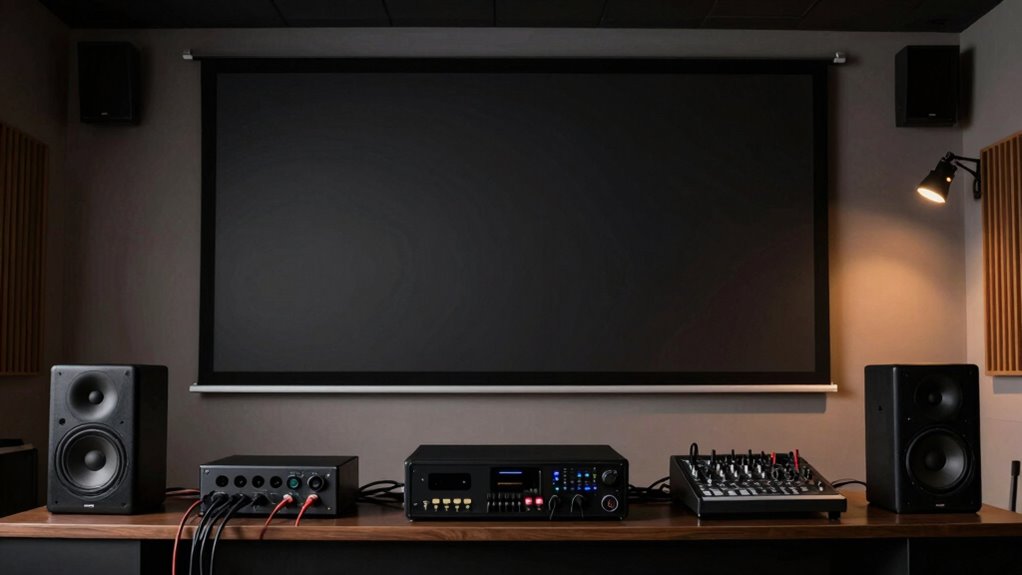
To guarantee clear audio during movies and presentations, start by placing your speakers in ideal positions to evenly distribute sound. Consider adding soundproofing materials to minimize external noise and prevent sound leakage. Additionally, adjusting your audio settings to balance volume, bass, and treble can significantly enhance the listening experience. Incorporating family-friendly soundproofing techniques can also help create a quieter environment conducive to better audio clarity. Paying attention to speaker placement ensures that sound reaches all areas evenly, avoiding dead spots or excessive echoes. Properly managing audio calibration can further optimize your sound setup for the best possible audio quality. Being aware of cultural traditions related to sound and space can also offer insights into optimal arrangements for different environments. Moreover, understanding soundproofing techniques can help tailor your room to suit specific acoustic needs.
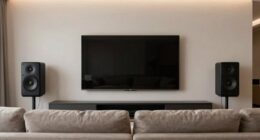
Optimal Speaker Placement
Have you ever wondered why some rooms have crystal-clear audio while others sound muffled or uneven? Proper speaker placement is key. Position your speakers at ear level when seated, forming an equilateral triangle with your listening area. Avoid placing speakers directly against walls to prevent sound reflections. Use speaker calibration tools to enhance sound balance and volume. Incorporate acoustic treatment, like diffusers or absorbers, to reduce echo and improve clarity. Keep speakers away from corners to minimize bass muddiness. Adjust the tilt and angle for even sound dispersion. Proper placement ensures balanced sound, minimizing dead spots and distortions. When combined with effective acoustic treatment, ideal speaker positioning transforms your room into a true audio haven.
Use of Soundproofing Materials
Proper speaker placement helps achieve clear audio, but without soundproofing, external noise and room acoustics can still interfere, making dialogue hard to hear during movies or presentations. Using soundproofing techniques and noise reduction materials can greatly improve your audio experience. Installing acoustic panels, weatherstripping doors, and adding thick curtains can block outside noise. Consider using bass traps and foam tiles to absorb echoes and reduce reverberation. These adjustments create a quieter environment, ensuring your sound system performs at its best. Here’s a quick overview:
| Soundproofing Technique | Noise Reduction Material |
|---|---|
| Acoustic panels | Mass-loaded vinyl |
| Door seals | Soundproof curtains |
| Carpet or rugs | Green glue damping |
| Window plugs | Foam insulation |
| Wall insulations | Double-glazed windows |
Additionally, understanding room acoustics and how different materials influence sound can help optimize your setup.
Adjusting Audio Settings
Ever wonder why sometimes dialogue during movies or presentations sounds muffled or hard to understand? Properly adjusting your audio settings can fix this. Start with audio calibration by testing sound levels and adjusting volume controls for clarity. Focus on speaker calibration to guarantee each speaker is balanced and aligned with the room’s acoustics. To improve your setup, consider these tips:
- Use an audio test tone to identify uneven sound levels
- Adjust speaker placement to minimize echo and dead spots
- Fine-tune equalizer settings for clearer dialogue
- Regularly revisit calibration to maintain peak sound quality
Common Projector Setup Mistakes and How to Fix Them
Many common projector setup mistakes stem from overlooking simple details that can considerably impact image quality. One frequent error is neglecting proper projector calibration, which can cause distorted images or incorrect colors. Take the time to adjust keystone, focus, and color settings for the best picture. Additionally, poor cable management often leads to tangled cords and accidental disconnections, which disrupt viewing and damage equipment. Keep cables organized using clips or sleeves, and verify they’re plugged in securely. Another mistake is positioning the projector at the wrong height or angle, resulting in distorted images. Always align the projector to the screen and test the image before finalizing your setup. Addressing these issues ensures a clear, sharp display and reduces frustrating troubleshooting later.
How to Keep Your Projector in Top Shape for Long-Term Use
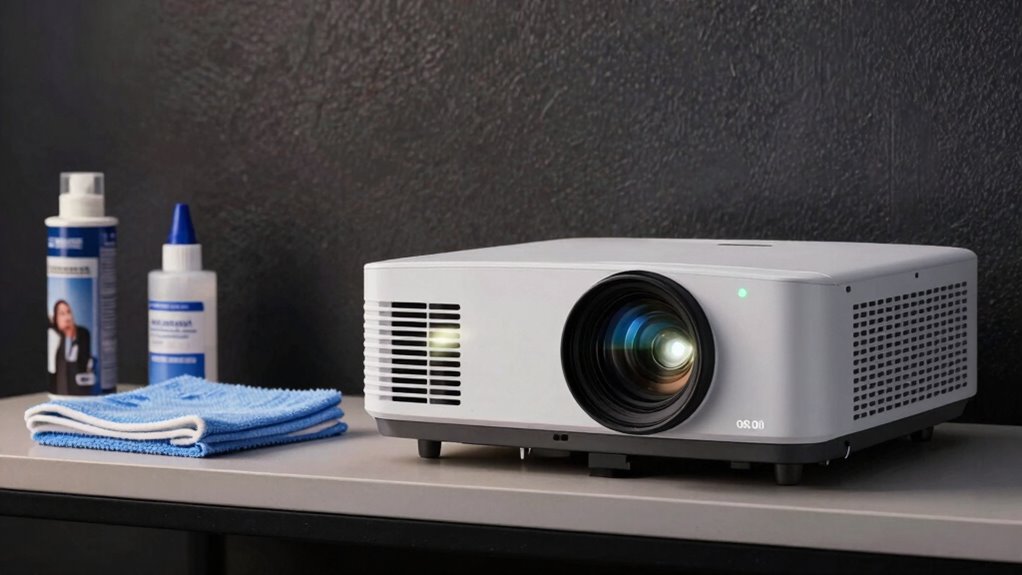
To keep your projector performing well over the long term, regular maintenance and mindful handling are essential. Establish consistent maintenance routines, such as cleaning filters and lenses, to prevent dust buildup that can diminish image quality. Use appropriate projector accessories, like lens covers and dust filters, to protect your equipment. Handle your projector carefully, avoiding sudden movements or impacts that could damage internal components. Additionally, keep the ventilation area clear to prevent overheating. Regularly check and replace lamp modules or bulbs before they burn out. Consider investing in a surge protector to guard against electrical surges. Finally, store your projector in a cool, dry place when not in use to prolong its lifespan and guarantee ideal performance. Proper storage methods are also crucial for maintaining your projector’s longevity and optimal functioning. Being aware of technological advancements can help you stay updated on new features or maintenance tools that enhance your projector’s lifespan, such as advanced cleaning techniques that make upkeep easier and more effective. Incorporating professional maintenance services periodically can also help identify potential issues early and ensure your projector remains in peak condition. Additionally, paying attention to manufacturer recommendations can help you follow the best practices specific to your projector model.
Frequently Asked Questions
How Do I Prevent Projector Overheating During Long Use?
To prevent your projector from overheating during long use, guarantee proper heat dissipation by keeping it in a well-ventilated area. Use cooling fans to enhance airflow and avoid blocking vents. Regularly clean dust from filters and vents, as dust impairs heat dissipation. Turn off the projector periodically to allow cooling down, and consider using external cooling solutions if overheating persists. These steps help maintain peak performance and extend your projector’s lifespan.
What Are the Best Ventilation Options for a Projector Room?
Did you know a projector can generate heat equivalent to a small space heater? To keep it cool, you should prioritize good air circulation with properly placed ventilation fans. Install exhaust fans near the ceiling to remove hot air and intake fans at the bottom for fresh air. Keep vents unobstructed, and consider adding a ceiling-mounted fan for continuous airflow, ensuring your projector stays cool during long sessions.
Can I Use a Projector in a Multi-Purpose Space?
Yes, you can use a projector in a multi-purpose space, but you need to plan carefully. Make certain of proper screen placement to avoid shadows or obstructions during different activities. Also, consider color calibration for each use to maintain image quality, especially if the space hosts presentations or movie nights. Adjustments might be necessary depending on lighting changes, so test and calibrate regularly to get the best viewing experience.
How Do I Secure My Projector From Theft or Damage?
To secure your projector from theft or damage, you should implement strong security measures like locking mounts and cables, and use theft prevention devices such as security cables or alarms. Keep the projector in a monitored area, ideally with surveillance cameras, and restrict access to authorized personnel only. Regularly inspect the equipment for signs of tampering, and educate users on proper handling to prevent accidental damage.
What Are Eco-Friendly Tips for Projector Room Lighting?
A stitch in time saves nine, so start with sustainable lighting to promote energy conservation. Use LED bulbs, which consume less power and last longer, and install dimmable switches to adjust brightness based on room needs. Maximize natural light during the day, and consider motion sensors to turn off lights when the room is unoccupied. These eco-friendly tips help reduce your carbon footprint while maintaining a well-lit projector room.
Conclusion
Now that you know the essentials, you’re ready to create a perfect projector setup. But remember, the true challenge lies ahead—fine-tuning your space for maximum performance isn’t just about following rules. It’s about discovering that one tweak that elevates your viewing experience to something extraordinary. Are you prepared to access the full potential of your projector? The secret to a flawless setup might just be lurking in the details you haven’t considered yet.