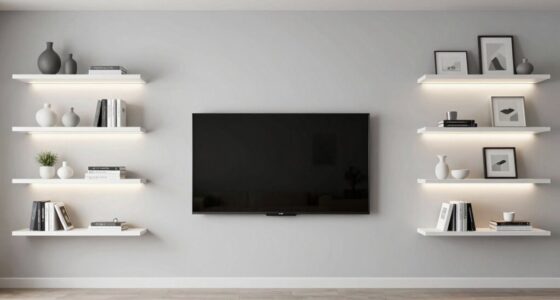
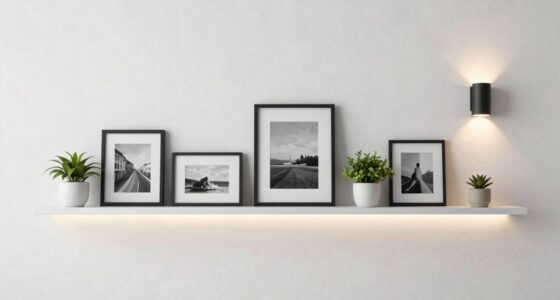
When placing picture lights, aim to mimic natural light sources to highlight your artwork beautifully. Position beams just 6-12 inches above the frame, adjusting angles to avoid glare and shadows, and fine-tune the brightness and color temperature for realism. Keep in mind, small tweaks make a big difference for harmony and authenticity. If you want to uncover the secrets to perfect placement and avoid common pitfalls, there’s more to discover below.
Listen free for 30 days with Audible
Thousands of audiobooks and originals — cancel anytime.
As an affiliate, we earn on qualifying purchases.
Key Takeaways
- Position lights 6-12 inches above the artwork frame for optimal illumination and minimal distortion.
- Aim beams to mimic natural light, experimenting with angles and distances for a balanced look.
- Use adjustable mounts and tools like light meters to fine-tune brightness, color temperature, and positioning.
- Avoid harsh lighting, glare, and uneven coverage by testing different angles before final installation.
- Regularly assess and refine lighting to achieve a natural, harmonious appearance that highlights artwork’s beauty.
As an affiliate, we earn on qualifying purchases.
Why Proper Picture Light Placement Matters for Your Artwork and Space
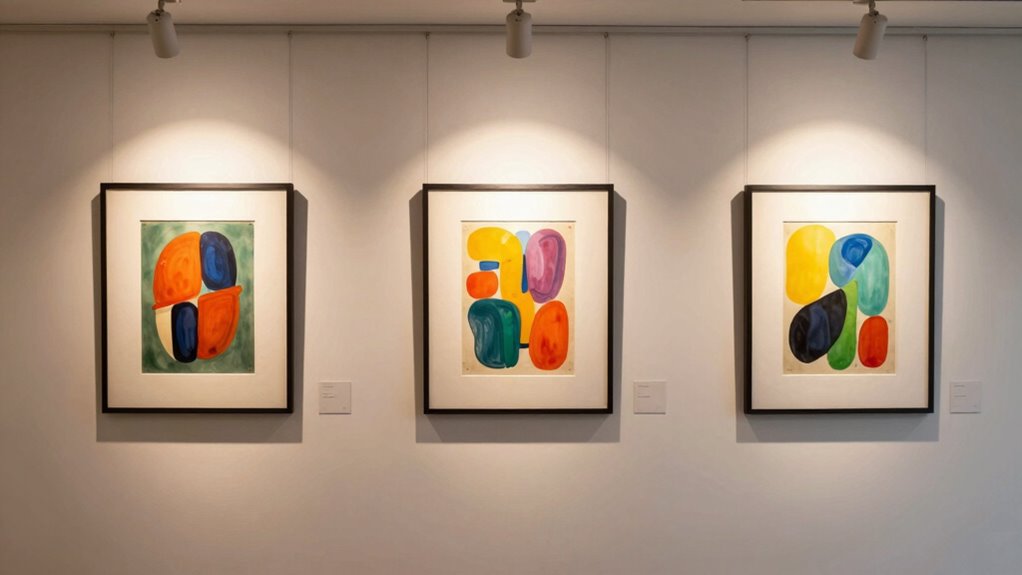
Proper picture light placement is essential because it directly affects how your artwork is perceived and how it enhances your space. When you position your lights carefully, you control the color temperature, ensuring the hues of your artwork appear natural and vibrant. Warm or cool tones can change the mood of the piece, so selecting the right color temperature matters. Additionally, light diffusion plays a critical role; well-diffused light minimizes harsh shadows and glare, allowing viewers to appreciate every detail. Proper placement ensures an even spread of light, highlighting textures and colors without overwhelming the artwork. Understanding light diffusion is crucial for achieving a balanced illumination that enhances the visual appeal of your artwork. When you get the placement right, your artwork becomes a focal point that complements your space, creating a balanced and inviting environment. Proper light placement also aligns with principles of design thinking by intentionally creating a harmonious and engaging visual experience. To optimize your setup, consider light positioning techniques that prevent hot spots and ensure consistent coverage across the piece. Paying attention to proper lighting design can further elevate how your artwork interacts with the surrounding environment. Additionally, understanding the impact of light quality on the overall ambiance can help you create a more inviting and cohesive space.
As an affiliate, we earn on qualifying purchases.
Key Factors to Consider Before Positioning Your Picture Lights

Before you start positioning your picture lights, it’s important to take into account several key factors that will influence their effectiveness. First, consider lighting aesthetics—how the light complements the room’s decor and enhances the artwork without causing glare or shadows. The right placement should highlight the piece’s details and colors, creating an inviting atmosphere. Next, think about the artistic focus; your goal is to draw attention to the artwork’s most compelling features. Avoid placing lights too high or too low, which can distort the view or wash out details. Also, consider the light’s angle and beam spread to ensure even illumination. By paying attention to these factors, you’ll achieve a balanced, visually appealing display that truly showcases your artwork’s beauty. Additionally, understanding lighting aesthetics can help you select the most suitable fixtures and placements to enhance your space’s overall style. Recognizing lighting effects is crucial for creating a harmonious and captivating display.
As an affiliate, we earn on qualifying purchases.
How High Should You Mount Picture Lights for the Best Effect?

The height at which you mount your picture lights can considerably impact how well they highlight your artwork. For best effect, position the light about 6 to 12 inches above the top of the frame. This guarantees the light evenly covers the piece without creating harsh shadows or glare. Consider the color temperature—warm tones (2700K-3000K) create cozy ambiance, while cooler tones (3500K-4100K) offer a more modern, vibrant look. Choose bulb types like LED or halogen for their brightness and efficiency. To ensure optimal illumination, also consider lighting placement techniques to accurately measure and position your lights relative to the artwork. Here are key ideas for mounting:
Mount picture lights 6-12 inches above the artwork for even, glare-free illumination. Choose warm or cool bulbs to suit your ambiance.
- Keep lights 6-12 inches above the artwork.
- Adjust based on the artwork’s size and framing.
- Match bulb color temperature to room ambiance.
- Opt for LED or halogen bulbs for clarity and longevity. Additionally, understanding lighting trends can help you select the most effective and modern options for your space, ensuring your artwork is showcased with the best gadget lighting techniques. Knowing how light placement influences visual impact can help you achieve a balanced and professional look.
As an affiliate, we earn on qualifying purchases.
Common Mistakes in Light Placement and How to Avoid Them
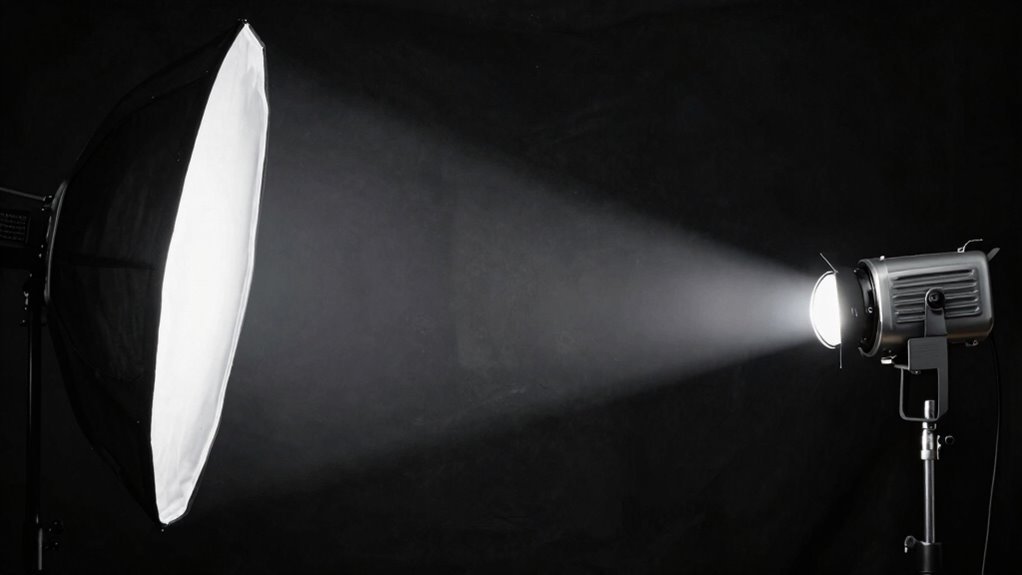
Misplacing your picture lights can undermine the entire display, causing glare, uneven illumination, or shadows that distract from your artwork. Common mistakes include placing lights too high or too low, which can distort colors and reduce the impact of gallery lighting. Another mistake is ignoring the color temperature; using lights with mismatched or harsh tones can alter how colors appear, diminishing the artwork’s true vibrancy. Avoid direct glare by angling lights correctly, and make certain of even coverage across the piece. Failing to take into account these factors leads to a dull or unbalanced presentation. To prevent these issues, test different positions and color temperatures before final installation, making sure your lighting complements the artwork and enhances its visual appeal. Additionally, understanding the importance of lighting placement can help you achieve a professional and captivating display. Proper lighting techniques are essential for creating a balanced and visually appealing environment that highlights the artwork’s details and colors. Being aware of lighting principles can further optimize how your space is illuminated and appreciated. Considering light distribution is crucial for achieving consistent and harmonious illumination across your entire display. Remember, experimenting with different lighting positions and configurations can significantly improve your overall presentation.
Tools and Tips for Perfect Light Alignment

Achieving perfect light alignment requires the right tools and a keen eye for detail. To guarantee your picture light highlights your artwork effectively, consider these tools and tips:
- Light Meter – Measures brightness and helps you set ideal bulb brightness.
- Color Temperature Meter – Ensures the light’s color temperature matches your desired ambiance, preventing overly warm or cool tones.
- Adjustable Mounts – Allow precise positioning and angling of the light beam.
- Level Tool – Keeps your light perfectly straight, avoiding uneven illumination.
Use a light meter to balance bulb brightness, and a color temperature meter to match lighting with your room’s atmosphere. Proper tools make it easier to achieve consistent, flattering illumination for your artwork.
Adjusting and Fine-Tuning Your Picture Lights for Optimal Results
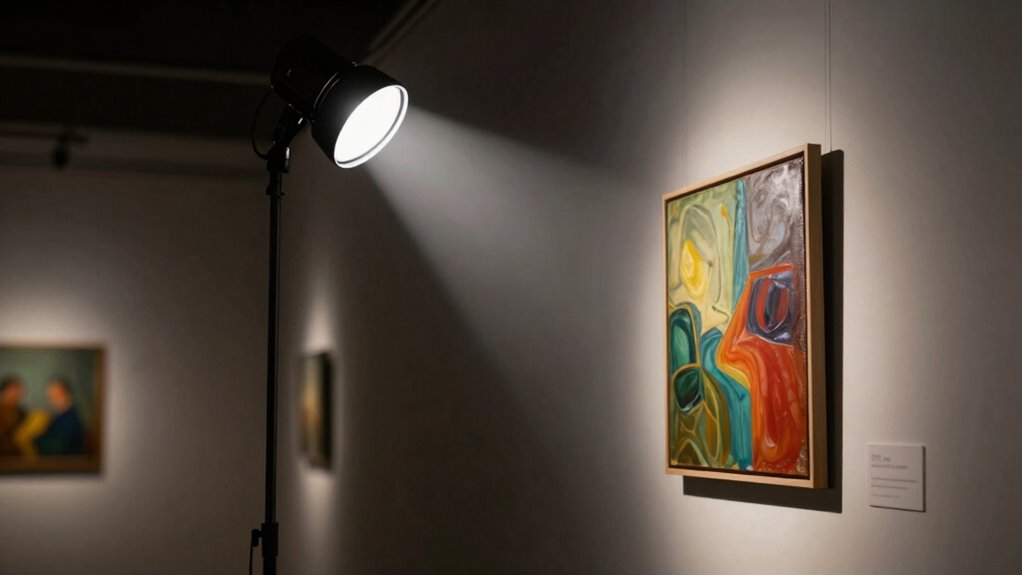
Once you’ve set up your picture light with the right tools, fine-tuning its position can make a big difference in highlighting your artwork beautifully. Start by adjusting the color temperature to match the mood you want — warmer tones create a cozy feel, while cooler tones emphasize clarity. Next, tweak the bulb brightness to guarantee the light isn’t too harsh or too dim; you want to accentuate details without causing glare. Aim the light slightly downward to avoid unwanted reflections and shadows. Small adjustments can dramatically improve the visual impact. Regularly step back and evaluate how the light interacts with the artwork, making incremental changes until you achieve a balanced, natural look that enhances the piece’s beauty.
Frequently Asked Questions
Can Picture Light Placement Affect the Longevity of My Artwork?
Yes, your picture light placement can affect the longevity of your artwork. Proper placement is essential for gallery preservation and light damage prevention. If the light is too intense or directly focused, it can cause fading, discoloration, or deterioration over time. To protect your artwork, position lights at a safe distance, use dimmable LEDs, and avoid direct sunlight, ensuring your art stays vibrant and well-preserved for years to come.
What Is the Ideal Color Temperature for Picture Lighting?
The ideal color temperature for picture lighting typically ranges from 3000K to 3500K. This warm to neutral range provides a natural light ambiance that enhances your artwork’s colors without creating harsh reflections or distortions. Cooler temperatures, above 4000K, can give a bluish tint, disrupting the artwork’s appearance. Picking the right color temperature guarantees your display looks true to life and maintains visual harmony.
How Do Different Wall Colors Influence Light Placement Decisions?
You might think wall colors don’t matter, but they actually influence your light placement greatly. Bright, warm hues reflect more ambient light, allowing you to place smaller or softer beams without washing out the artwork. Deep or cool walls absorb light, so you’ll need more direct, focused beams to highlight your pieces effectively. Consider wall color harmony and ambient light influence to create balanced illumination that enhances your art’s true colors.
Are There Specific Lighting Styles Recommended for Modern Versus Traditional Art?
For modern art, opt for sleek, focused artistic lighting like LED spotlights to highlight bold colors and clean lines, creating a contemporary gallery ambiance. Traditional art benefits from softer, diffused lighting such as picture lights with warm tones, enhancing textures and details. You should consider the artwork’s style and your desired atmosphere, ensuring your lighting choices accentuate each piece’s unique qualities and maintain a cohesive, inviting gallery ambiance.
How Often Should I Re-Evaluate My Picture Light Placement?
Like a knight rethinking their armor, you should re-evaluate your picture light placement every 6 to 12 months. Check if lighting angles still highlight your artwork without glare, and consider if bulb types need updating for better color rendering or energy efficiency. Changes in your art or room layout might warrant adjustments, ensuring your piece is always showcased in the best light. Regular checks keep your display vibrant and well-lit.
Conclusion
Getting your picture light placement right isn’t just a detail—it’s the secret ingredient to transforming your space into a gallery of brilliance. When you master the art of perfect positioning, every artwork will shine brighter than a thousand suns, mesmerizing everyone who enters. Don’t settle for mediocre lighting—aim for a jaw-dropping, eye-popping display that leaves your guests in awe. Your art deserves the spotlight, and with the right placement, it’ll steal the show every single time.
NFL season / tailgating Picks
team gear
As an affiliate, we earn on qualifying purchases.