One common mistake that causes sound problems quickly is placing acoustic panels randomly or only on the ceiling, ignoring reflection points on side walls. To get the best results, you need to position panels at primary reflection spots on side walls using a mirror to find those spots. Overlooking these important areas leads to muddiness and uneven sound. Keep listening closely and pay attention to placement details—there’s more to making your space sound perfect.

Get business pricing on your home office setup
- Business-only prices and quantity discounts
- Tax-exempt purchasing
- Multiple users, one account, clear invoices
Key Takeaways
- Placing acoustic panels only on ceilings ignores side wall reflections, causing uneven sound absorption.
- Clustering multiple panels in one area creates unbalanced treatment and reduces overall effectiveness.
- Ignoring primary reflection points on side walls leads to early echoes and muddled sound.
- Positioning panels too high or too low misses critical reflection zones at ear level.
- Relying solely on wall panels without proper speaker placement can worsen sound muddiness.
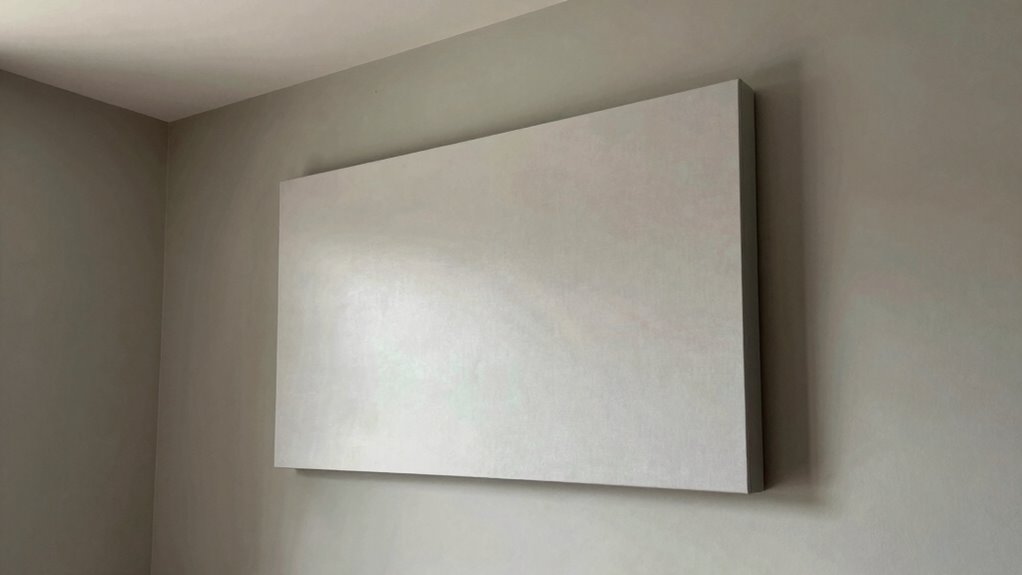
Are you wondering where to place acoustic panels to get the best sound quality? The key lies in understanding how sound absorption and speaker placement work together to create an ideal listening environment. When you position your panels correctly, they can drastically reduce echoes and unwanted reverberations, leading to clearer, more balanced sound. But if you place them haphazardly or ignore the principles of acoustic treatment, you’ll likely face problems like muddiness or uneven sound distribution.
Start by considering your speaker placement. It’s tempting to toss your speakers into corners or against walls, but this often causes sound reflections that muddle clarity. Instead, position your speakers so they form an equilateral triangle with your listening spot, keeping them away from walls by a few inches if possible. This setup minimizes early reflections that interfere with sound quality. Once your speakers are properly placed, you can identify the primary areas where sound waves bounce or reflect, which are the best spots for acoustic panels.
Position speakers in an equilateral triangle, away from walls, to reduce reflections and improve sound clarity.
Now, think about sound absorption. Acoustic panels are most effective when placed at points where sound waves collide with surfaces and reflect back into the room, causing echo or reverberation. The primary reflection points are typically on the walls directly opposite your speakers and behind your listening position. To find these points, have someone move a mirror along the wall while you sit in your listening spot. Wherever you see your speakers reflected in the mirror, that’s where you should mount an acoustic panel. This targeted placement ensures that sound absorption is maximized exactly where reflections are strongest.
Avoid the common mistake of placing panels randomly or only on the ceiling. While ceiling treatment is helpful, the most critical areas are usually the side walls at ear level. Placing panels too high or in corners can lead to insufficient sound absorption where it’s most needed. Additionally, don’t ignore the importance of spacing panels evenly; clustering them in one spot won’t provide balanced absorption across the room.
acoustic panels for wall reflection points
As an affiliate, we earn on qualifying purchases.
As an affiliate, we earn on qualifying purchases.
Frequently Asked Questions
How Do I Determine the Optimal Height for Acoustic Panels?
You determine the ideal height for acoustic panels by focusing on sound absorption and reflection control. Typically, placing panels at ear level or slightly above helps absorb direct sound and reduce reflections. Position them around the primary sound source or listening area, ensuring they target reflective surfaces like walls and ceilings. Use test recordings or app-based tools to fine-tune placement, maximizing sound absorption and creating a balanced acoustic environment.
Can I Place Panels Near Windows or Doors?
Yes, you can place panels near windows or doors, but be mindful of window proximity and door placement. Imagine sound waves bouncing off glass, creating echoes, or slipping through gaps, undermining your efforts. Position panels strategically around these areas to absorb reflections and prevent sound leaks. Avoid direct placement on window surfaces, and use framing or trim to enhance effectiveness. This way, your soundproofing remains efficient despite the challenges of window and door locations.
What Tools Are Best for Measuring Acoustic Panel Placement?
You should use a tape measure or a laser distance meter for precise acoustic panel placement, ensuring ideal sound absorption and frequency adjustment. A tape measure is simple and effective for quick measurements, while a laser device offers greater accuracy for larger spaces. Both tools help you position panels correctly, preventing problems caused by improper placement, and improving overall sound quality by targeting specific frequencies and reducing echoes.
How Often Should I Reposition Acoustic Panels?
You should reposition your acoustic panels whenever you notice a change in sound quality or echo issues, typically every 6 to 12 months. Regularly check if the decorative options and sound absorption materials are still effective, especially after room modifications or new furniture. Proper placement guarantees ideal sound absorption, so don’t hesitate to move panels to better locations, enhancing both aesthetics and acoustic performance.
Do Different Room Shapes Require Different Placement Strategies?
Like a puzzle piece, different room shapes demand tailored placement strategies. Symmetrical rooms often need acoustic panels placed evenly to balance sound, while asymmetrical spaces might require targeted positioning to manage echo hotspots. Surface materials also influence placement—hard surfaces reflect sound, so you should focus panels where sound bounces most. Adjust your approach based on room symmetry and surface materials to optimize acoustics and avoid muddled sound.
sound absorption panels for home studio
As an affiliate, we earn on qualifying purchases.
As an affiliate, we earn on qualifying purchases.
Conclusion
Now that you understand the importance of proper acoustic panel placement, don’t assume you’ve got it all figured out. The smallest mistake can quickly turn your space into a sound nightmare. But here’s the thing—once you nail the setup, you’ll open a whole new level of clarity and comfort. The real challenge isn’t just placing panels; it’s knowing where to go next. Are you ready to discover the secret that transforms your room forever?
As an affiliate, we earn on qualifying purchases.
best acoustic panels for listening room
As an affiliate, we earn on qualifying purchases.
As an affiliate, we earn on qualifying purchases.
Columbus Day / Indigenous Peoples' Day Picks
long weekend sales
As an affiliate, we earn on qualifying purchases.